Salsa Verde Chicken Enchiladas

Salsa Verde Chicken Enchiladas

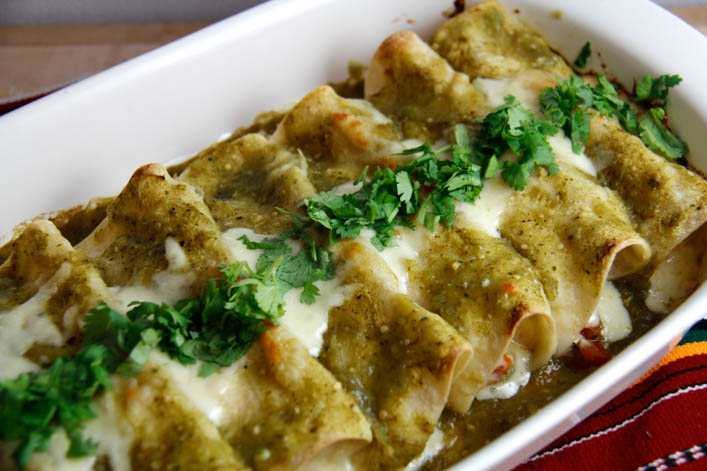
Most of the time when I’m dreaming up blog posts, I try to be inventive and give recipes delicious new twists. Other times, I’m just hungry for something really specific, and I get inspired to test recipes until I make my dream version of a classic. Salsa Verde Chicken Enchiladas is one such classic that I didn’t want to change too much. Why mess with perfection? These enchiladas are bursting with flavor, the chicken is moist and perfectly seasoned, and they aren’t hard to make at all. As a person who eats at a lot of Mexican restaurants, I can say that these are absolutely restaurant quality. All they need are some rice and beans on the side, and maybe a margarita or two.
Before testing this recipe, the only experience I had with salsa verde was eating a lot of it. I have found a wonderful version that is so much simpler to make than I ever would have imagined. Don’t you just love it when your favorite foods are actually so easy to throw together? I combined recipes for salsa verde from Tyler Florence and The Flavor Blender and I think I may have made the sauce of my dreams. I have been putting it on everything I eat and I’m not sure I’ll ever stop. I love the tangy, spicy flavor, and it can be made as hot or mild as you like, in case spicy food isn’t your favorite. Spicy food is definitely my favorite. But I actually prefer it toned down in a salsa like this, because there are so many interesting flavors at play, and I really want to be able to taste all of them.
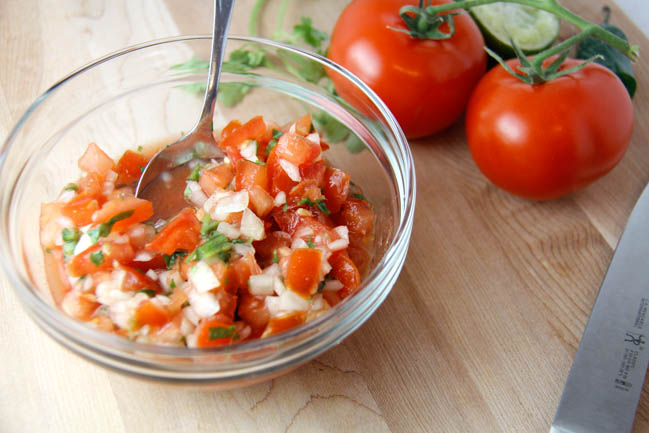
Making enchiladas can seem like kind of an arduous process, because you have to prepare all of the ingredients and then fill and roll them. It definitely takes some time, but a lot of that is really just letting things cook in the oven. You start by roasting the tomatillos, peppers, and onions for the salsa verde. Then you roast a couple of chicken breasts with some olive oil and seasonings. You blend your salsa together, whip up a quick fresh tomato salsa while the chicken is cooking, shred the chicken after it’s done, and then you’re ready to assemble the enchiladas. I do recommend doing all of this before you start on the margaritas, but everyone has her own method!
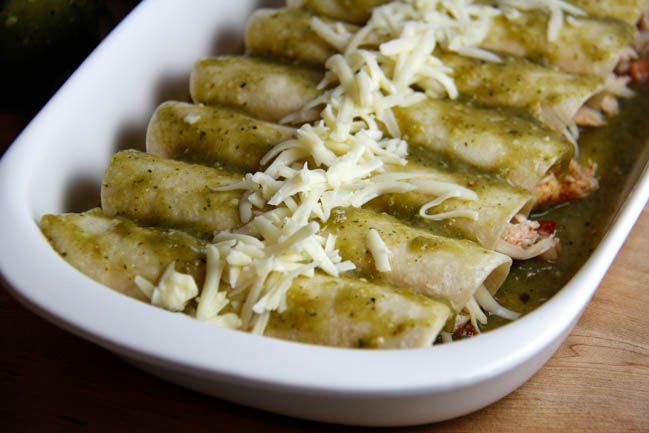
Can we talk for a second about how Mexican food is the best food? My husband and I went to Mexico for our honeymoon and I’m dying to go back purely for the food. (That’s a lie, I also want to go back to lay out at a beautiful resort in Playa Del Carmen while someone brings me a cocktail, and relax all day). Anyway, even when we went off of the resort to eat, it seemed like the food wasn’t all that different from what you can get in a really good Mexican restaurant in D.C. I don’t know if this makes me really excited about D.C. or confused about Mexico, but I do know that it means Mexican food is consistently wonderful, if you know what to look for. And if all else fails, you now have a seriously amazing Salsa Verde Chicken Enchilada recipe up your sleeve!
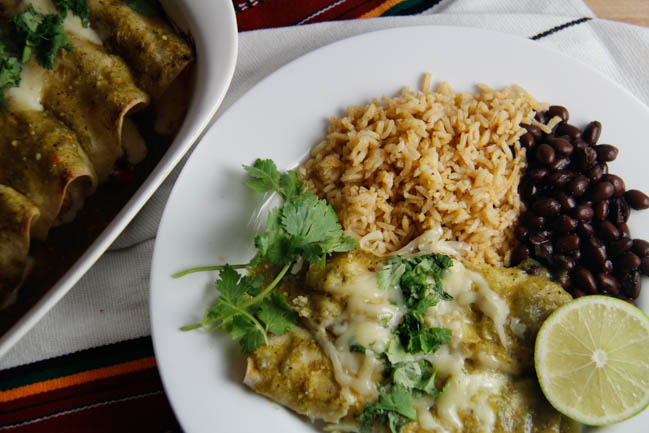
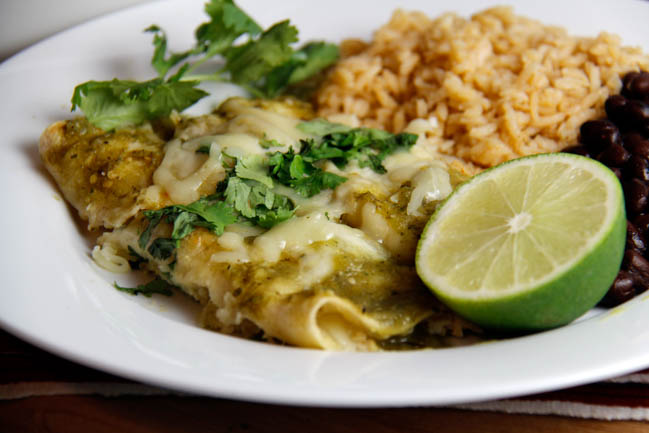
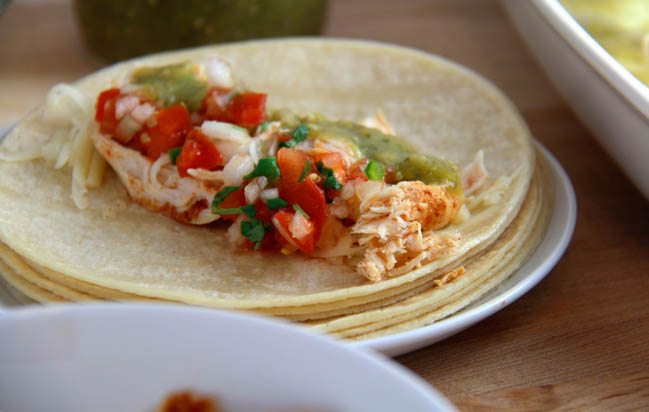
These Enchiladas are probably one of my favorite things I’ve ever made. They’re stuffed with chicken, plenty of cheese, and fresh tomato salsa to brighten up the filling a little. Add a squeeze of lime, an extra dollop of salsa verde, and some cilantro on top, and you won’t even know what hit you. These are perfect to serve to a bigger group, because you can make a couple large trays at a time, and even pre-bake them, and then just heat them up in the oven when you want to serve. If you somehow end up with extra salsa verde, or want to prepare it ahead of time, it can be stored in an airtight container in the fridge for a week. I’m so excited to try variations on the filling with these, but every time I start considering that, I think about how much I really just want the perfect chicken version. It’s like I said before, some things just don’t need to be changed, because they’re exactly right the way they are.
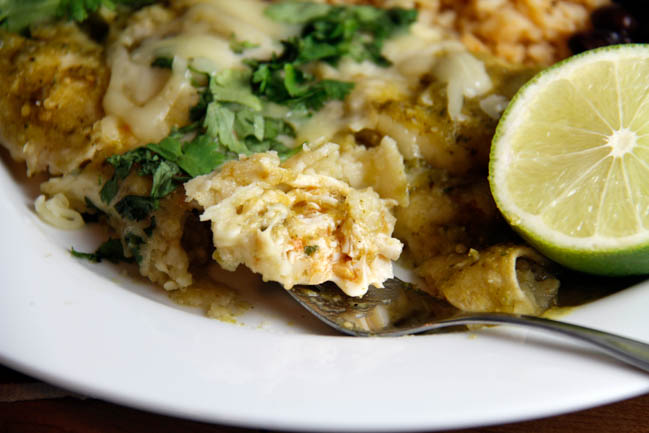


Salsa Verde Chicken Enchiladas

Salsa Verde recipe adapted from Tyler Florence and The Flavor Blender.

Servings 16 enchiladas

Ingredients

Salsa Verde

  • 1 lb tomatillos, de-husked and washed
  • 1 poblano pepper
  • 2 jalapeno peppers
  • 4 cloves garlic, wrapped in foil
  • 1 medium white onion
  • 3/4 cup chicken broth
  • 1/2 cup cilantro
  • 2 tsps cumin
  • 3 Tbsp lime juice
  • 1 tsp salt

Chicken Filling

  • 2 lbs chicken breasts
  • 4 Tbsp olive oil, divided use
  • 1 Tbsp paprika
  • 1 Tbsp cumin
  • 1 Tbsp garlic powder
  • 1 tsp salt
  • 16 soft corn tortillas
  • 2 cups shredded Monterey Jack cheese

Fresh Tomato Salsa

  • 2 tomatoes
  • 1/2 medium white onion
  • 1/2 jalapeno
  • 1 Tbsp lime juice
  • 1/2 tsp salt
  • 3 Tbsps cilantro, chopped

Instructions

  1. Make the salsa verde. Place de-husked tomatillos, poblano, jalapeno, and garlic cloves (wrap the garlic cloves in foil to prevent burning) on a baking tray lined with foil. Broil in the oven for 7 minutes. Cut a white onion into quarters. Remove the tray from the oven, add the onions to it, and bake for an additional 7 minutes. 

    2. Place two chicken breasts on a baking sheet and pour two Tbsps of olive oil over top. Stir together spices and sprinkle evenly over top. After the salsa verde ingredients are out of the oven, reduce oven temperature to 350 degrees, and bake chicken for 35-40 minutes. 

    3. Allow tray of broiled tomatillos and peppers to cool, and then de-stem the tomatillos, poblano, and jalapenos, and cut into quarters. For the jalapenos, de-seed them if you want a milder salsa. Leave in the seeds of one jalapeno if you want the salsa to have a kick without being extremely hot. Add all of the ingredients from the tray to a food processor (my NutriBullet was perfect for this), and run until everything is broken down and mixed. Add the remaining ingredients to the food processor and pulse until well-blended.

    4. Make the fresh tomato salsa. Dice tomatoes and onion, and de-seed and finely chop jalapeno. Stir together all ingredients, adding more salt to taste. 

    5. When the chicken is done, allow to cool slightly, and place on a plate. Shred each chicken breast with two forks. 

    6. Spread salsa verde in the bottoms of 2 9x13 baking pans, about 1/4 cup for each. Assemble your enchiladas: Heat the tortillas in the microwave, and then brush them on each side with olive oil. This keeps them from breaking when you roll them. Fill each with a sprinkle of shredded cheese, chicken, and about a Tbsp of each kind of salsa. Roll, and place in the baking pan. When the pans are full, spread more salsa verde over the tops of the enchiladas, and sprinkle generously with cheese. Bake pans at 350 degrees for about 25-30 minutes, until the cheese just starts to lightly brown on top. Top each enchilada off with a little more salsa verde before serving. 


Better Chicken Vino Bianco

Better Chicken Vino Bianco

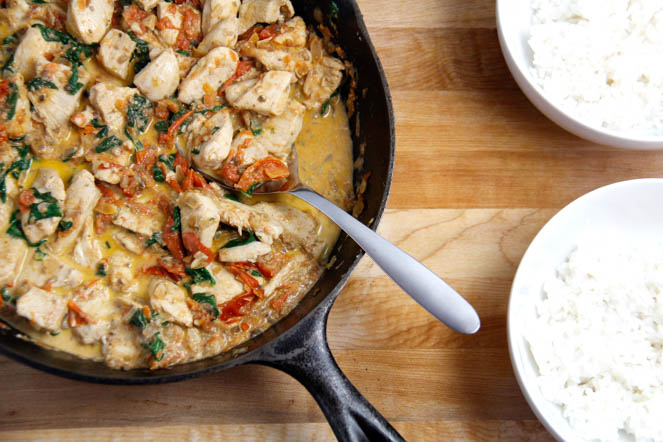
This recipe is one of my favorite dinners, and only partly because the recipe involves wine. It’s pretty quick to make, and all the prep can be done ahead of time, so you don’t have to spend hours in the kitchen to make something wonderful. Since the chicken doesn’t actually cook in the sauce, you can buy a roasted chicken and use that if you’re especially short on time. Short cuts that don’t diminish the final product are essentially just examples of good time management, right?

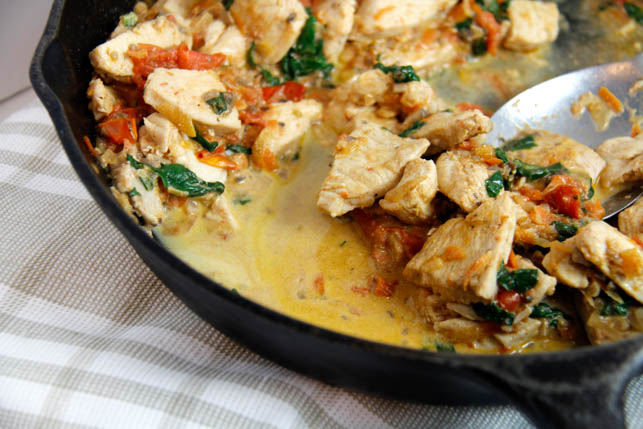
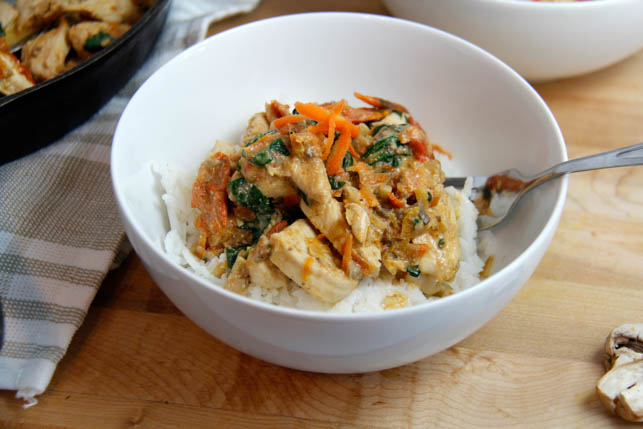
Chicken Vino Bianco is typically served over pasta, but I chose to make this dish with rice. The rice absorbs the sauce better than pasta ever could, soaking up the flavor and making sure it ends up in your mouth instead of on the bottom of the dish. The sauce itself is rich and creamy, without feeling heavy, and the flavor of the wine comes through without being overpowering. You can use chicken broth and maybe a little lemon juice in place of the wine and still have a silky, beautifully flavored sauce.

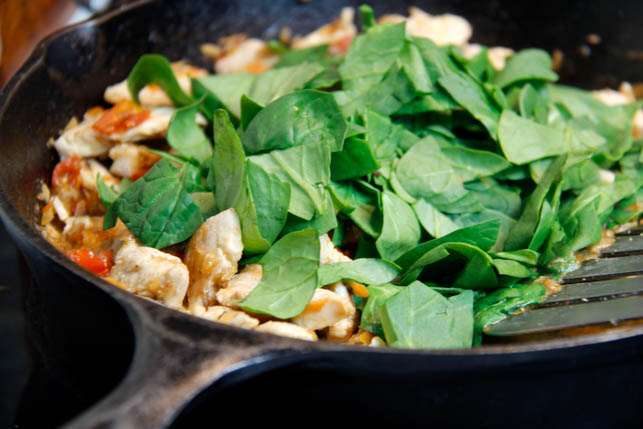
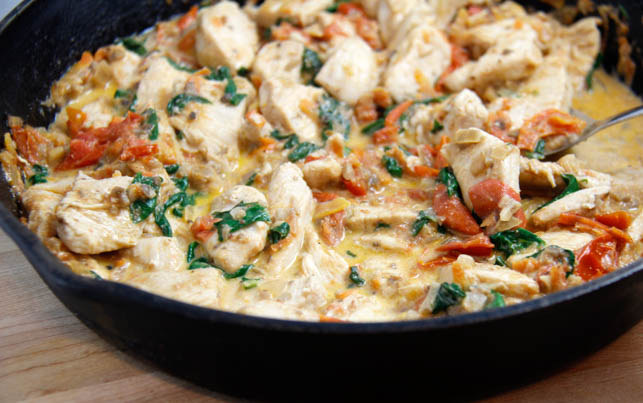
Better Chicken Vino Bianco is loaded with vegetables, but you hardly even notice them because with a little wine and cream in the mix, all the vegetables cook down into the glorious, smooth sauce. This recipe involves fresh grape tomatoes, spinach, shredded carrot, onion, and mushrooms. The tomatoes add a freshness that balances the heavy cream, and the onions, carrot, and spinach add loads of flavor as well as bulk and color.

Every recipe for Chicken Vino Bianco I looked at called for mushrooms. I’ll just say it – I hate mushrooms. I’ve been on a quest to force myself to like foods that I hate, in order to broaden my palate (it’s too complicated to be a food-lover who hates popular flavors like mushrooms and bananas). This was a great place to start, because I chopped the mushrooms so small that they all but disappeared into the sauce, and I could forget they were there.

I’ve tried the recipe sans mushrooms and the flavor just wasn’t the same. If you happen to love them, you can just roughly chop them before adding them to the skillet. You can do that with all of the vegetables in this dish, depending on what you like. If you’re of the vegetarian persuasion, you could also opt to increase the mushrooms in place of the chicken. I don’t think I’ll ever like mushrooms enough to live that life, but I hear some people think they’re amazing. Teach me your ways, please.

Like most of my recipes, this one was developed over time, based on a lot of similar recipes. I love taking a concept and changing it to fit my personal needs – especially when the result is something this tasty!  With its irresistible sauce and depth of flavors, Better Chicken Vino Bianco is a beautiful, savory dish that still feels light and healthy. And thank goodness for that, since it practically comes with a built-in wine course. The recipe only calls for a cup, and it would be a shame to waste the rest!


Better Chicken Vino Bianco


Prep Time 20 minutes
Cook Time 30 minutes
Total Time 50 minutes

Ingredients

  • 3 chicken breasts
  • 2 Tbsp olive oil
  • 1 cup yellow onion, diced
  • 1 cup shredded carrot
  • 4 garlic cloves, minced
  • 1 1/2 cup mushrooms, chopped
  • 1 cup quartered grape tomatoes
  • 1/2 cup heavy cream
  • 1 cup dry white wine
  • 1 tsp salt

Instructions

  1. Slice chicken into bite sized pieces and cook in a Tbsp of olive oil. Cook gently, over medium heat, to prevent chicken drying out. Remove cooked chicken from the skillet.

    2. Place onion, shredded carrot, garlic, and a Tbsp of olive oil in the same skillet over medium heat. Let cook until everything starts to soften, stirring occasionally.

    3. While onions are cooking, cut tomatoes into quarters, and chop mushrooms - I diced mine very very small, but you could just chop them roughly if you love mushrooms. Add both to the skillet with 1 tsp of salt and let cook until soft. 

    4. Add wine to the skillet and bring to a simmer. Cook until the sauce starts to reduce. Turn off heat and add cream. Stir until well combined. Salt to taste. Add chicken to the skillet and mix until coated with sauce. 

    5. Serve over warm rice or pasta. 

Apple, Feta, and Turmeric Stuffed Chicken

Apple, Feta, and Turmeric Stuffed Chicken

I was raised by a couple of serious foodies. My mom is known among family and friends as an enthusiastic baker, who is happiest playing in the kitchen. My dad’s secret dream is to be on one of the amateur episodes of Chopped, and I’m certain he’d be a strong contender – he’s got some kind of innate flavor-mixing sixth sense that continually amazes me.

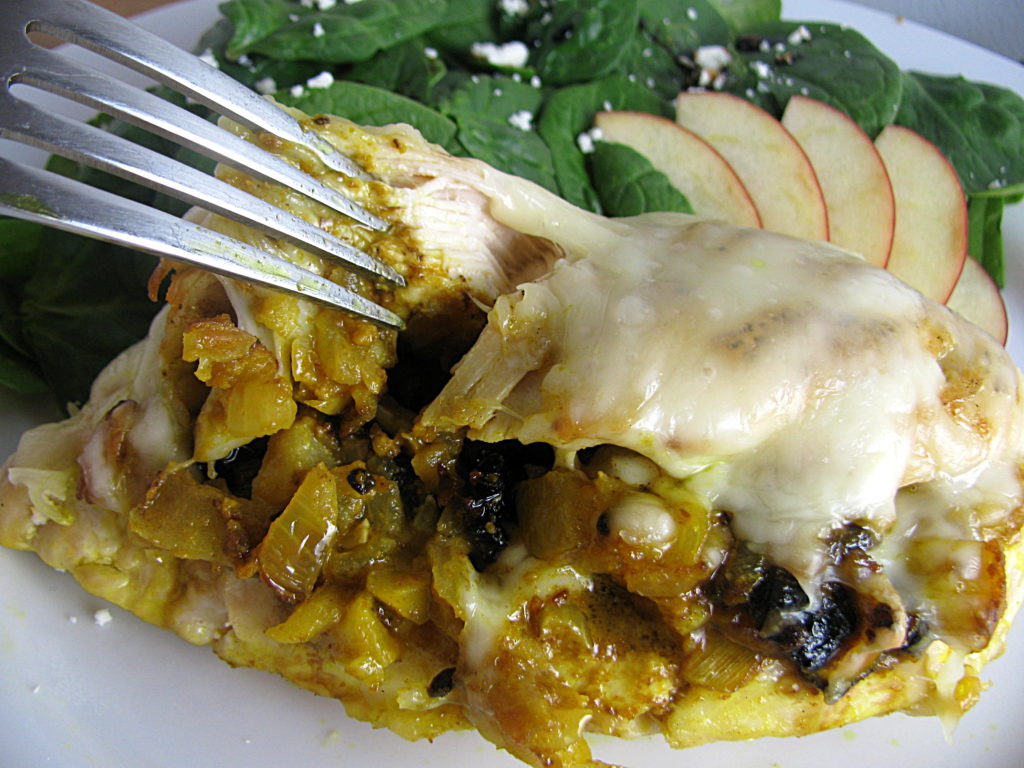
We all owe my dad an enormous debt of gratitude for this recipe, because it’s all his creation, and it’s unbelievably good. Thinking about it makes me immediately hungry. It’s the kind of impressive, crowd-pleasing dish that people take a bite of and swoon over. At least, that is, if they’re anything like me. It’s a little unusual for a stuffed chicken recipe, and you definitely need to have some specific ingredients for this one, but it’s beyond worth that extra trip to the grocery store. They’re not weird ingredients that you’ll only use once and then lose in the back of the refrigerator or pantry. If you don’t use them up by making this dish over and over – it’s that good – you’ll find lots of other recipes for them. If you don’t cook with them already, prepare to have feta, sun-dried tomatoes, and turmeric become your new best friends.

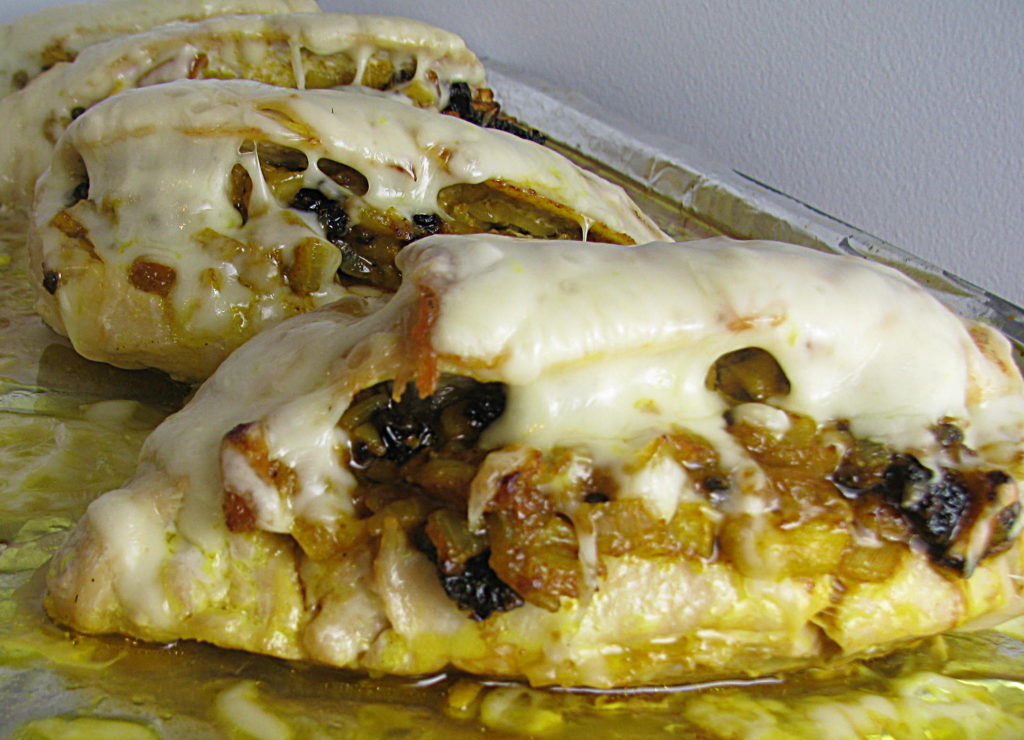
This dish starts with garlic, onion, and sun-dried tomatoes, stewing in olive oil. Then you add apples, ginger, and turmeric, and let them cook until everything is soft and the flavor has started to develop. The filling is finished with a good helping of feta cheese, stirred in until it gets all melted and the whole mixture thickens. Tell me you’re not thinking about that filling and wondering if you’ve got time to stop at the grocery store to get sun-dried tomatoes and feta! The chicken breasts get seared in a pan, sliced open to create a pocket, stuffed with the filling, and then cooked in the oven. After baking, they’re topped with mozzarella cheese, and then go back in the oven just until the cheese melts.

I generally prefer food that has some kind of spicy heat, but this dish is an exception. The sweetness of the apple with the salty feta and mozzarella, mixed with the tart sun-dried tomatoes, and flavored with the turmeric, onion, garlic, and ginger, make this stuffed chicken an absolute standout. With so many flavors involved, it’s important that they’re balanced just right, and in this recipe they go together perfectly.

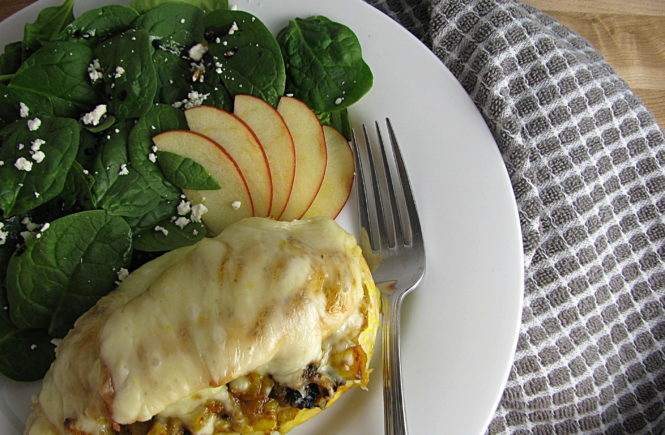
The turmeric in this dish turns everything a bright yellow color, so I definitely recommend serving it with some colorful veggies. I went with a simple spinach salad, topped with feta, apple, and a balsamic vinaigrette. The flavors in the stuffed chicken would go well with just about anything, so you could serve it with asparagus, roasted sweet potato, or brussels sprouts. Or you could just forgo worrying about aesthetics because you’re more concerned with eating your stuffed chicken than posting it on the internet. Sometimes I barely get my blog photos taken before I dive into the food!

The nice part about this recipe is that it can be done from start to finish in about 45 minutes. Once you’ve seared the chicken and made the filling, you’re only 25 minutes away from eating. Make a quick salad or steam some veggies, and dinner is served. This dish is a great choice if you want to really impress someone with your cooking skills, because it looks and tastes complex, but it’s so easy to put together. I’m excited to try variations of this filling, with different fruit and seasonings – let me know in the comments if you try it out, and how you put your own spin on it!


Apple, Feta, and Turmeric Stuffed Chicken

Servings 4 servings

Ingredients

  • 4 chicken breasts
  • 1/3 cup olive oil + 2 Tbsps, divided use
  • 3/4 cup feta cheese
  • 1 small Gala apple
  • 1 small yellow onion
  • 2 tsps ground turmeric
  • 1 tsp ground ginger
  • 4 garlic cloves
  • 5 oz shredded mozzarella cheese
  • 5 oz sun-dried tomatoes
  • dash of salt - add to taste

Instructions

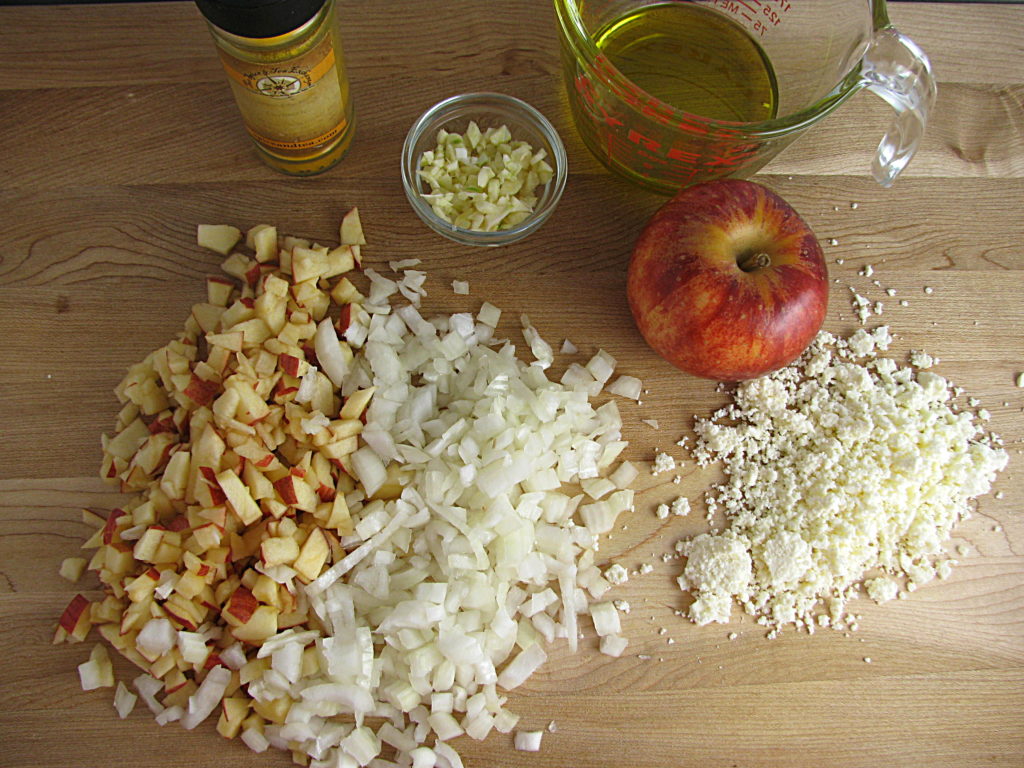
  1. Dice onion and mince garlic. Add all to a small saucepan with 1/3 cup of olive oil. Begin cooking over medium heat. Dice apple with skin still on, slice sun-dried tomatoes into thin strips, and add both to the sauce pan. Let cook until the apples and onions become tender.

    2. While the filling is cooking, get a skillet hot. Add 2 Tbsps of olive oil, and place chicken breasts in the skillet. Sear chicken on each side for two minutes, and remove from heat. Chicken should still be raw on the inside. Searing it on the stove just makes it easier to stuff, and helps it cook in the oven faster.

    3. Add turmeric, ginger, and feta to the sauce pan. Stir gently until cheese melts and the filling is well-mixed. Remove from heat.

    4. Cut a pocket into each chicken breast along the long side - be careful not to cut all the way through. Fill each with a fourth of the filling.

    5. Place stuffed chicken breasts on a baking sheet lined with foil. Bake in the oven at 350 degrees for 20 minutes. Check to make sure chicken is cooked through.

    6. Remove from oven, top with mozzarella cheese, and cook in the oven for an additional 4-5 minutes. Serve and enjoy!


Kung Pao Chicken: DIY Takeout

Kung Pao Chicken: DIY Takeout

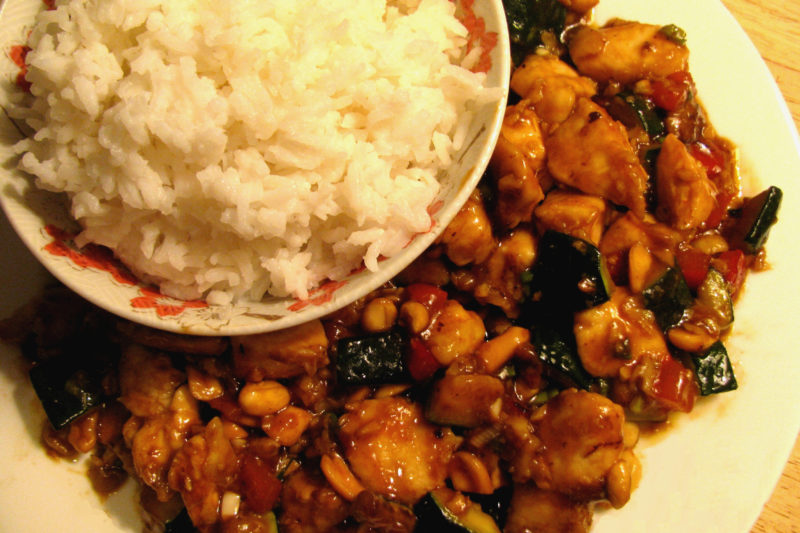
For a person who loves to cook, I certainly eat a lot of Chinese take-out. My go-to is almost always Kung Pao Chicken. I refuse to order from a restaurant that serves an inferior version of the stuff. My ideal Kung Pao Chicken has a generous amount of heat, a thick, slightly sweet and tangy sauce, more chicken than peanuts, and not too much vegetation. Sometimes you need lighter fare, like my Vegan Cashew Cream Spinach Dip, and sometimes you just need to focus on something a little heartier, like chicken and rice in a perfectly-flavored sauce.

When you look at the list of ingredients required to cook Chinese food at home, it can seem a little intimidating. You will almost definitely need to purchase some new sauce or oil in order to get your flavors the way you want them. I’ve found, however, that those new ingredients become an investment, as a lot of Chinese food isn’t nearly as difficult to prepare as you expect. Having the ingredients on hand will make future cooking experiments that much easier, and a lot of them are shelf-stable products that will keep for a long time.
Read More