Healthier Cream of Crab Soup

My husband, Bobby, and his family are seafood fiends. They’re the only people I know who have oysters on Thanksgiving and crab cakes with Christmas dinner (not that I’m complaining – I’m definitely a fan of seafood). This of course means that one of Bobby’s absolute, hands-down favorite foods in the world is cream of crab soup. I love it too, but I’ve always been vaguely aware of the fact that it’s made with loads of heavy cream, which on top of being extremely calorie-dense, doesn’t always sit well with my stomach. I was in the grocery store a couple weeks ago, and I came upon a container of local (read: very expensive) crab meat marked half-off, and of course snatched it up immediately. That sort of thing just does not happen very often, and not buying it would’ve been an insult to the unexpectedly generous, crab-meat-providing universe. I didn’t want to risk getting caught in a random, sudden, blizzard on my way out of the store because I rejected such a wonderful gift, after all. I live in Maryland, though, so that might’ve happened anyway.

I was then faced with the decision of how to use my crab meat, since it’s something I cook with fairly infrequently. I started researching cream of crab soup recipes, and was a little discouraged. They’re all basically 80% heavy cream, with some crab meat and sherry (and Old Bay if you love yourself) thrown in. I decided to start with ideas from other lighter soup recipes I’ve made in the past, like my Lighter Broccoli Cheddar Soup, combined with the concept of adding cauliflower, the healthy, low calorie substitute for all things, apparently, and it spiraled from there.

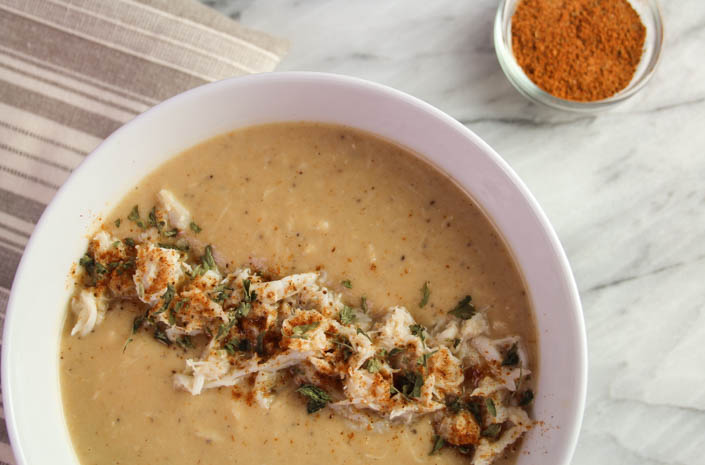
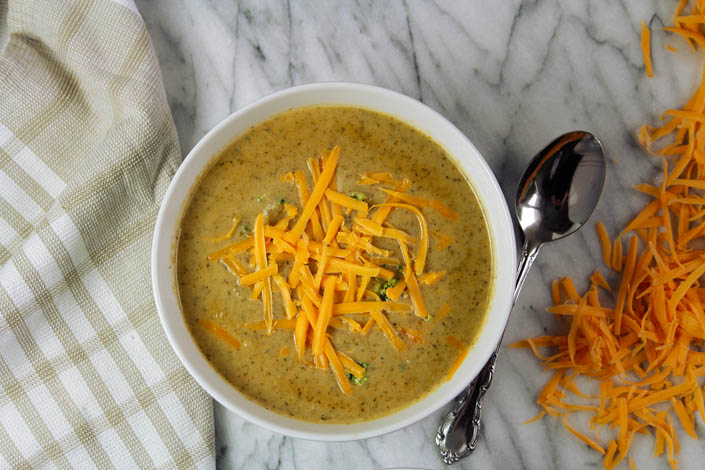
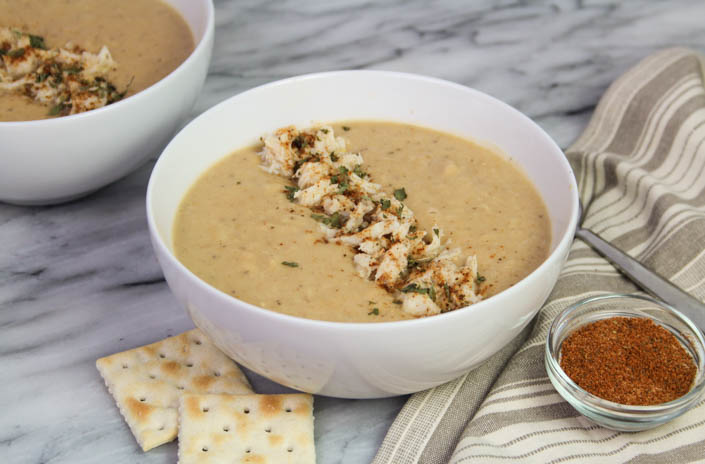
The base of this recipe is onion, butternut squash, cauliflower, and white beans, all simmered together in chicken broth until soft, and then pureed until silky smooth. It basically starts out as baby food. I know. But don’t let that deter you, because I swear on all the half-priced, high-quality crab meat in the land that you don’t taste all the healthy stuff in the final product. To the veggie/bean base, I added seasonings, the crab, and good amount of half & half – because as much as I like the nutritious components here, it wouldn’t be cream of crab soup without some actual cream.

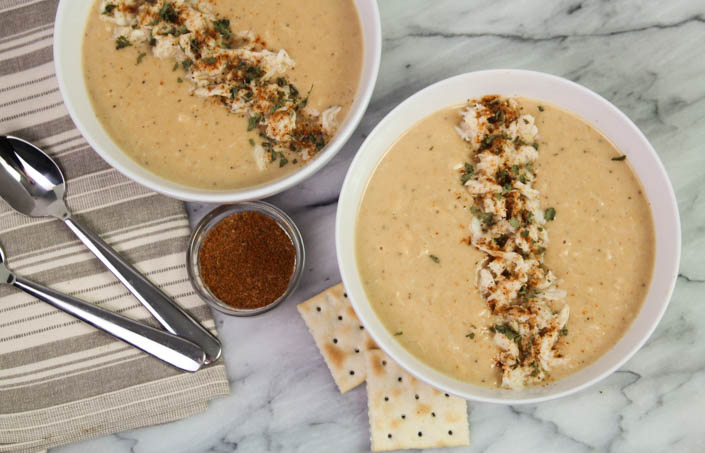
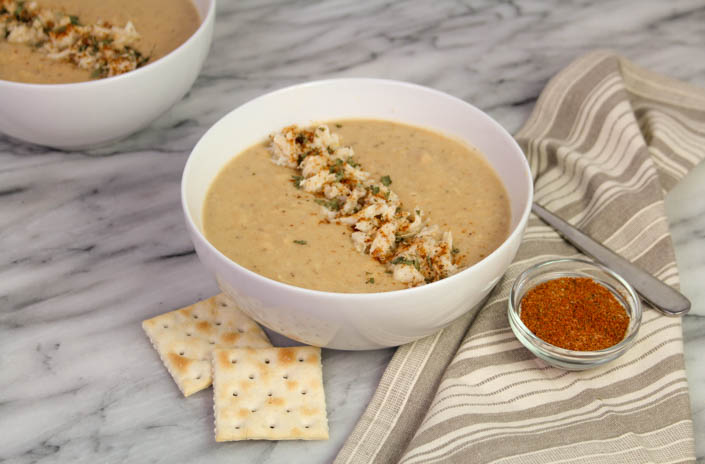
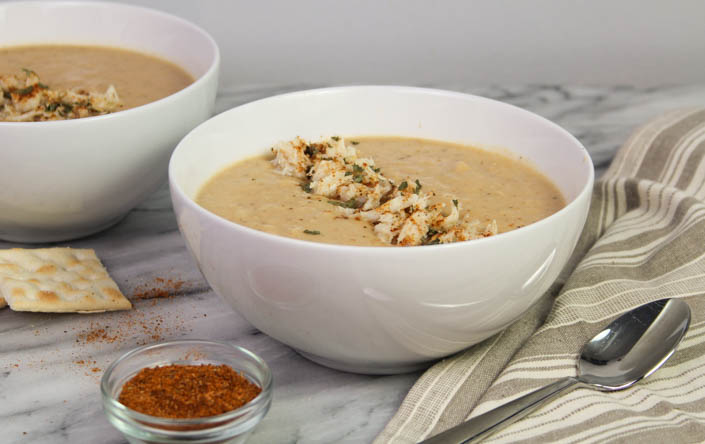
The result is nothing short of astounding. My crab-soup-loving husband agrees heartily. This cream of crab soup has the same smooth texture he’s used to, interrupted only by those wonderful lumps of crab meat. It’s extremely similar in flavor to the full-fat kind, especially if you add the sherry and use a heavy hand with the Old Bay, as I do. I will admit that this is a Maryland kind of cream of crab soup – if Old Bay isn’t your jam, you’ll need to add more in the way of other seasonings, and a decent amount of salt. Honestly, I’m so pleased with the way this recipe turned out that I might even go nuts and buy full-price crab meat so I can make another batch!


Healthier Cream of Crab Soup

Makes approximately 16 cups 

Ingredients

  • 1 medium onion, roughly chopped
  • 1 Tbsp olive oil
  • 1/2 Tbsp garlic, minced
  • 5 cups cauliflower florets (about 1/2 a head of cauliflower)
  • 1 cup butternut squash, chopped into cubes
  • 1 15.5oz can white beans (I use cannelini)
  • 5-6 cups chicken broth (just enough to cover the vegetables in the pot
  • 1/2 tsp freshly ground black pepper
  • 1 1/2 tsps celery salt
  • 2 Tbsps Old Bay
  • 1 1/2 cups half & half
  • 1 Tbsp cooking sherry
  • 1 lb lump crabmeat

Instructions

  1. Add onion and olive oil to a large pot and cook on medium heat until onion softens. Add the garlic and cook for one more minute.

    2. Add the cauliflower, butternut squash, beans, and just enough chicken broth to submerge everything. Bring soup to a boil, and then reduce heat and simmer for 20 minutes, or until the vegetables are fork tender. 

    3. Allow the soup to cool slightly, and then blend until completely smooth. I do it in batches in a Nutri-Bullet.

    4. Return blended soup to the pot, and re-heat it gently over medium heat. Stir in pepper, celery salt, and Old Bay. While the soup is reheating, warm up the half & half on the stove or in the microwave, until it is hot to the touch. 

    5. Gradually stir the heated half & half into the soup. Reduce heat to low, and do not let the soup boil. Stir in the cooking sherry and crab meat – you can microwave the crab for a few seconds just to warm it up before adding it to the soup. 

    6. Serve and enjoy!

    Notes:

    You may find that the amount of Old Bay is too much for you, unless you like it’s flavor as I do – You can add a partial amount of the Old Bay measurement to your soup, and then just add salt as needed from there.

    If you have the time and devotion to very smooth soup, remove the skins from the white beans you use. It makes a world of difference in the texture, as most blenders, even the Nutri-Bullet, have a hard time fully breaking down the skins. 

    This yields a fairly thin soup (compared to a normal cream of crab at least), as I don’t use a roux at the beginning – lots of my family eat gluten free, and removing the roux makes this soup gluten free. If you want a thicker end result that’s still gluten free, dissolve 1 Tbsp of corn starch in 2 Tbsps of water, and add to the soup after you have blended it and returned it to the stove. Bring the soup to a boil and then immediately reduce the heat and proceed with the rest of the recipe as written. 


Lighter Broccoli Cheddar Soup

Lighter Broccoli Cheddar Soup

Happy 2018! I’m so excited to be back at creating content after a very busy holiday season! This recipe is inspired by everyone’s favorite New Year’s Resolution to hate: to start eating better. While I’ve given up on dieting as a concept – I’ve discovered that it makes me profoundly miserable – everyone likes to eat healthier if it’s delicious and painless. This soup is perfect to help you start 2018 off with your resolutions going strong.

Adapted from a recipe in the Washington Post, originally by Ellie Krieger, it’s the lightest broccoli cheddar soup you could make, with all of the flavor and richness of a soup that’s usually heavy on cream and cheese. Cannellini beans are the star of this show, blending together perfectly to substitute for a lot of that heavy cream. I’d never even eaten a cannellini bean before experimenting with this recipe, so I can attest, with no long-harbored love of them, that they really don’t alter the flavor of the soup at all – just the texture and creaminess. Shelled chickpeas work just as well in this recipe, so you could use those instead. My changes to the original recipe are mostly changes to the seasonings. With so much of the fat removed from this recipe, it felt like it needed a good flavor boost, and I’m very happy with how it turned out.

I’ll admit that when I make this soup, I think to myself that it’s so healthy, it won’t matter if I top it with a little extra (read: way too much) cheddar cheese. Cheddar is in the name, after all. Every year, my brother makes a New Year’s resolution to eat a Five Guys burger at least once a month for the whole year, and I’ve found that really inspiring. Imagine making a resolution that you know for sure that you’ll be able to keep – and thoroughly enjoy! So, I’m resolving to have extra cheese on my food whenever I feel I should. I’ll let you know how it goes. My other resolution is to save money, so my husband and I can buy our first house this year, so this recipe is about to become even more of a staple in our home. It’s the least expensive way to make broccoli cheddar soup – especially if you make your own chicken stock, as I do. I guess you could call this double-whammy broccoli cheddar soup, since it’s easy on the wallet and the scale. Are you sold yet? I’m adding more broccoli to my grocery list as I type this.

You can play around with the amount of milk and cheese you add, depending on just how calorie conscious you want to be with it – you already know what I suggest doing. You can also blend it until it’s completely smooth, or opt to leave chunks of broccoli, if you’re into that. Either way it’s a perfect starter or lunch, especially served with some kind of cheesy roll or toasty garlic bread.

I’m well aware that my cheese obsession is out of hand. Don’t send help.

Lighter Broccoli Cheddar Soup

Adapted from Broccoli Cheddar Soup, by Ellie Krieger, as printed in the Washington Post.

Prep Time 10 minutes
Cook Time 45 minutes
Total Time 55 minutes
Servings 4

Ingredients

  • 1 medium onion, diced
  • 2 Tbsp butter
  • 4 1/2 cups chicken broth
  • 1 large head of broccoli, cut into bite-size pieces about 6 cups
  • 1 14.5oz can cannelini beans or chick peas
  • 1 tsp powdered mustard
  • 2 1/2 tsps salt
  • 1 tsp paprika
  • 1/2 tsp garlic powder
  • 1/2 tsp onion powder
  • 1/2 tsp ground black pepper
  • 1/8 tsp ground thyme
  • 1/8 tsp ground sage
  • 3/4 cup 1% milk
  • 1 cup shredded sharp cheddar cheese, plus more for garnishes

Instructions

  1. Add onion and butter to a large pot and cook over medium heat until onions soften and start to brown.

    2. Add the chicken broth, broccoli and beans. Turn heat up to high and allow the soup to come to a boil. Stir in all seasonings. Reduce heat, cover, and allow to simmer for 15 minutes, stirring occasionally.

    3. Let the soup cool slightly, and then blend until smooth (I used my NutriBullet, as always) and return to the pot. Stir in the milk and cheese until well combined. Serve immediately and garnish with extra cheese on top.


Orange Chicken Crispy Rice Salad

Orange Chicken Crispy Rice Salad

There are two important things to understand about this recipe for Orange Chicken Crispy Rice Salad. The first is that it’s hilariously American, as is the case with all of my recipes that approach cuisines from other countries. The second is that it’s absolutely delicious regardless of authenticity. The inspiration for this concept came from my first experience with a crispy rice salad at Doi Moi in D.C. Their food is Southeast Asian, and so delicious – I definitely recommend a trip if you’re near 14th street. Their crispy rice salad involves fermented pork, which I have never worked with before, so I decided to combine the concept with something a little more familiar: orange chicken.

I have wild dreams of someday being one of those people who just throws all kinds of interesting ingredients into a dish without a second thought. I love trying new foods and flavors, and I make a conscious effort to order outside of my comfort zone at restaurants, but sometimes you just have to stick with some of what you know when you’re trying a new recipe concept. The point of that being that the sauce for my orange chicken started with a Panda Express copycat recipe, and I haven’t really done that much to it. I’m okay with that, however, as Panda Express orange chicken is a delicious gift from the heavens.

The crispy rice is, of course, the real standout of this salad, and the whole reason for its existence. I didn’t even know that crispy rice was a thing until a few months ago, but the version I made up for this recipe is one of my new favorite things. I started with a recipe from Ayesha Curry, which set me on the right path flavor- and texture-wise. I flavored mine with Greek yogurt, lemon, dill, salt, pepper, and red pepper flakes. Her recipe calls for crisping the rice in a pan on the stove, but mostly I just kept burning things that way. I found it much easier to get the results I wanted by toasting the rice on a tray in the oven. The result is crisp, slightly chewy, very flavorful rice that clumps together into bites like croutons in the salad.

This salad could easily have gone in the direction of very-bad-for-you, but with summer coming, I figured I’d keep it light. I used grilled chicken instead of fried, loaded the base of the salad with spinach, broccoli and cucumber, and topped it with some cashews for added crunch and nutrition. I think a variety of textures is what separates a great salad from the merely decent – they can get a bit boring if every bite is the same. This salad has a combination of crunchy and chewy and soft components that combine with the bright flavor of the orange chicken and the lightly spicy crispy rice, to make a pretty perfect meal.

This salad is a perfect start to break away from a typical boring lunch time. You can only eat Caesar salad so many times in a row before you want to stab yourself with your fork. Not that there’s anything wrong with Caesar salad. Crispy Rice Orange Chicken Salad is, as always, open to interpretation. I invite you to try it with lemon chicken or switch out the cashews for pecans. Maybe add roasted Brussels sprouts in place of the broccoli. Just promise me that whatever you do, you’ll keep the crispy rice – it’s truly something different and wonderful, and I can’t wait to make it again.


Orange Chicken Crispy Rice Salad

Orange Chicken Sauce adapted from Food.com's Panda Express Copycat Orange Chicken 


Ingredients

Crispy Rice

  • 3 cups cooked rice (1 cup uncooked)
  • 1/4 cup plain Greek yogurt 61g
  • 2 Tbsps lemon juice
  • 1 1/4 tsps red pepper flakes
  • 1 1/4 tsps dried dill
  • 1/2 tsp pepper
  • 1 tsp salt

Orange Chicken

  • 1 lb chicken breast
  • 2 Tbsps olive oil - divided use
  • 1 cup orange juice (fresh squeezed or bottled)
  • 3 Tbsps soy sauce
  • 1/3 cup brown sugar
  • 2 Tbsps rice wine vinegar
  • 1 Tbsp ground ginger
  • 1/2 cup green onion, chopped
  • 2 tsps garlic, minced
  • 1 tsp red chili flakes
  • 1/2 cup water
  • 2 Tbsps cornstarch

Salad

  • 2 cups baby spinach
  • 1 cup diced cucumber, de-seeded
  • 1 cup steamed broccoli florets
  • 1/2 cup dry roasted cashews

Instructions

  1. Prepare the crispy rice. Stir together the cooked rice, yogurt, lemon juice, red pepper flakes, dill, pepper, and salt until well mixed. Spread into one even layer on a baking tray lined with foil. Bake at 400 degrees for 20 minutes, stir the rice around on the tray, and bake for another 30 minutes. It's done when the top of the rice has browned and the clumps are crispy on the edges and soft inside. Once the rice has cooled slightly, transfer to a cutting board and chop larger clumps into bite-sized pieces. 

    2. While the rice bakes, make the orange chicken. Slice the chicken breast into bite-sized pieces and sautee in a skillet over high heat, with a Tbsp of olive oil. Remove to the side. To make the sauce, combine orange juice, soy sauce, brown sugar, and rice wine in a small bowl and set aside. Using the same skillet from the chicken, heat 1 Tbsp of olive oil. Stir together the green onion, ginger, garlic, 1 Tbsp of olive oil, and chili flakes and add to the hot skillet. Cook for about a minute until fragrant, and then add the orange juice mixture. 

    3. Let the sauce come to a simmer, over medium-heat, about 9 minutes. Do not let it come to a full boil. Stir together the corn starch and water, and add to the sauce. Stir gently for an additional 3 minutes, until the sauce begins to thicken. Lower heat and cook for 3 more minutes. Remove from heat and add the chicken, stirring until well-coated.

    4. To assemble the salad, fill a bowl with chopped spinach, diced cucumber, broccoli florets, and cashews. Top with a generous helping of orange chicken and crispy rice. Enjoy!

    Note: Leftover orange sauce can be refrigerated in an airtight container for up to a week. 


Quick Cauliflower Pizza Crust (That Doesn’t Taste Like Cauliflower)

Quick Cauliflower Pizza Crust (That Doesn’t Taste Like Cauliflower)

Whoever claims that cauliflower pizza crust made from scratch is quick and easy is lying to you. You have to rice the cauliflower and cook it and squeeze it. Squeezing it is an arduous task at best, because you really do have to wring as much moisture out as possible to achieve a good crust. If you’re making more than one pizza, which I usually am, because cauliflower crusts are not very large or filling, then it takes double the time and effort. It quickly becomes an expensive, time consuming endeavor to feed more than one person with cauliflower crust pizza.

Fortunately, I’ve discovered the secret weapon. Trader Joe’s Frozen, Riced Cauliflower. It’s only $1.99 for a 12 oz bag, which happens to be exactly the right amount for a beautiful crust, and it’s cheaper than buying fresh cauliflower that you’d have to rice and squeeze yourself. I do think you can buy frozen, riced cauliflower in regular grocery stores – I use Trader Joe’s because I love their store, and it’s the first time I discovered such a magical product.

* not sponsored, just love the product *

When you freeze food, it tends to lose some of its distinct flavor over time. I think this is at play with the frozen cauliflower, and why it makes such a wonderful crust: it doesn’t taste like vegetables. It also doesn’t have a huge amount of moisture, even after you defrost it. I pour it into a bowl, microwave for a minute or two, and then pat the top dry with a paper towel. No squeezing involved at all. Do you know what that means? You’re smart and you probably do, but I tell you anyway. That means that this crust takes approximately five minutes to make. Defrost the cauliflower, pat dry, toss in some cheese, an egg, and some seasonings, stir and pour out onto your tray to shape the mix into a nice crust-like circle. Although to be honest, when I’m making it to eat instead of photograph, mine tends to look like a very wobbly rectangle.

Now, about that cheese that I so casually mentioned. I think of the cheese as my second secret weapon: goat cheese. For Cauliflower Pizza Crust, most people use Parmesan to help bind the crust together. I’ve swapped that for garlic and herb goat cheese, and it’s made a world of difference. The only other ingredients I add to my crust are an egg, some Italian herbs and salt. The crust still crisps up just right, and doesn’t taste like cauliflower even a little bit. The single caveat of the whole endeavor is that the crust needs about 40 minutes to bake properly, so it could be considered time-consuming in that regard. We all know at this point how impatient I am when it comes to wanting to eat what I make, though, so believe me when I say it’s worth the time.

I topped my pizza with mozzarella, cherry tomatoes, basil and pesto. Pesto is my new favorite thing to put on pizza – it just adds a whole new dimension to the flavor. I tested this crust topped like a traditional margarita pizza with fresh mozzarella, but the fresh cheese has a lot more moisture to it, and makes the pizza difficult to eat without a fork and knife. If you don’t mind that, then definitely give fresh mozzarella a try, it tasted outstanding. I am very happy to say that my days of squeezing moisture out of cauliflower until my hands fall off are completely behind me, and I promise that once you try this method, yours will be too.


5 from 2 votes
Print

Quick Cauliflower Pizza Crust (That Doesn't Taste Like Cauliflower)

Prep Time 7 minutes
Cook Time 40 minutes
Total Time 47 minutes
Servings 1 pizza

Ingredients

Cauliflower Crust

  • 1 12oz bag frozen, riced cauliflower
  • 1 egg
  • 4 oz garlic and herb goat cheese
  • 1/2 tsp salt
  • 1 tsp Italian seasoning

Toppings

  • 2 cups pizza sauce
  • 2 cups shredded mozzarella cheese
  • 1/2 cup pesto
  • sliced cherry tomatoes
  • basil

Instructions

  1. Preheat oven to 400 degrees. Line a baking sheet (round or rectangle) with parchment paper. 

    2. Place frozen cauliflower in a microwave-safe bowl. Microwave for about 2 minutes until the cauliflower has started to defrost. Pat the top of the cauliflower with a paper towel to remove excess moisture. 

    3. Add goat cheese to the cauliflower and microwave for an additional 30 seconds. Add egg, seasoning, and salt. Stir until well combined. The mixture will seem a little soft and wet. If you don't have garlic and herd goat cheese, you can use plain goat cheese and add an extra tsp of the Italian seasoning. 

    4. Pour the mixture out onto the parchment paper and flatten into a circle (or whatever shape you like, really) about 10-11 inches in diameter, and 1/2 inch thick. 

    5. Bake for 40 minutes, rotating the tray halfway through baking time to ensure even color. Baked crust will be a dark, golden brown and the edges will be crispy. Top with sauce, cheese, and whatever else you fancy and bake for  5-10 minutes until the cheese melts and browns very slightly on top.