Sriracha Shrimp Skewers with Pineapple

Sriracha Shrimp Skewers with Pineapple

Since I’m in “do summer things” mode, I’ve been super excited to experiment with some grilling recipes. Now that we’ve been getting the occasional cool-but-not-too-cold summer evening, I’ve been obsessed with eating outdoors. Dinner straight from the grill is one of those magical things that you can only do when the weather permits, so it’s important to take advantage of those clear, golden evening hours whenever possible.

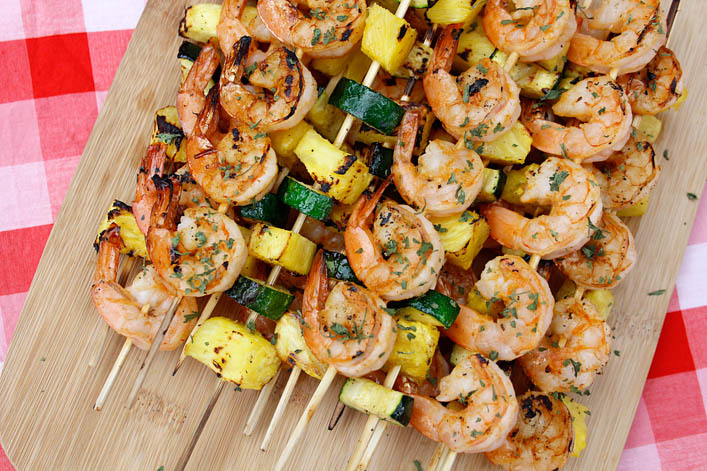
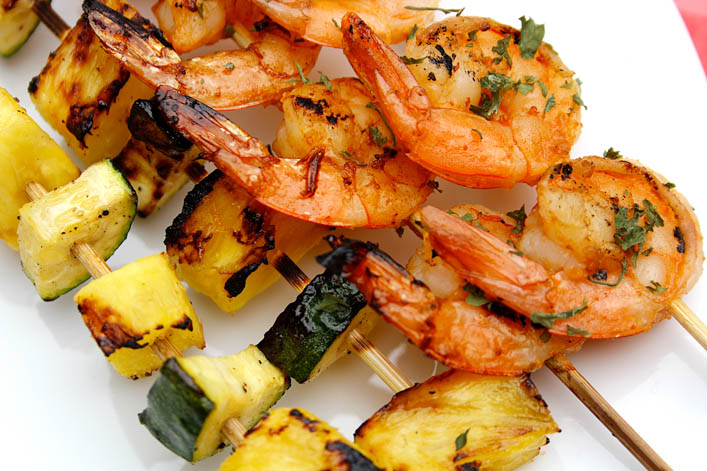
My favorite grilled foods are shrimp and pineapple, so figuring out what to make was a no-brainer. But I wanted to create a marinade for the shrimp that would knock anyone’s socks off. Recently, I bought a bottle of Sriracha for the first time in about a year. It was one of those things where I ate too much of it, and then couldn’t stand it for a long time. Now that it’s back in my life and I remember how wonderful it is, it only made sense to put it in my marinade. I added it to some pineapple juice, garlic, salt, ginger, and coconut milk. I can’t explain why – please tell me if you know what crazy science is at work here – but coconut milk and pineapple juice make the shrimp take on a tender, buttery texture. I’d never realized that I wanted shrimp to melt in my mouth until I cooked them in this marinade, and now I don’t know how I went without it for this long. Don’t worry if you, like me, abhor the flavor of coconut. I promise – cross my heart, hope to die – that you cannot taste it on the shrimp. Coconut milk doesn’t even smell like coconut.

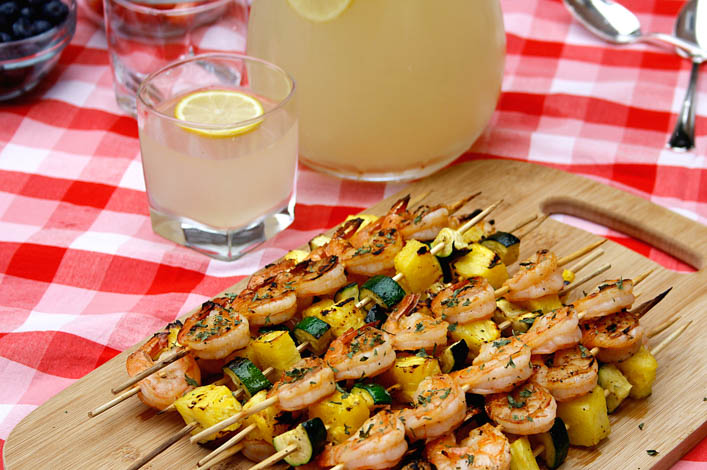
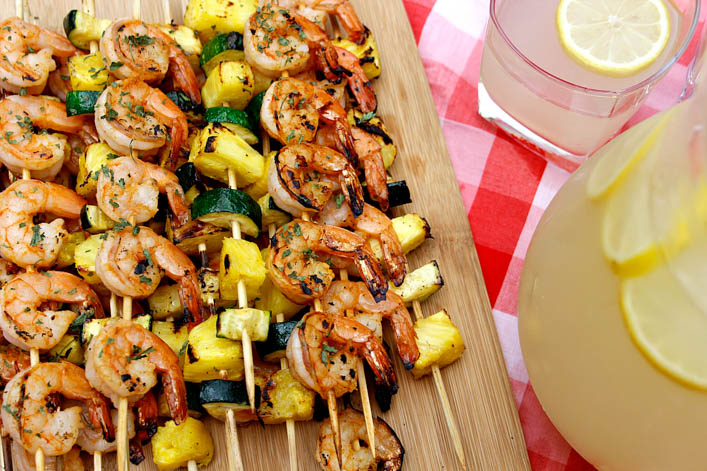
I let my shrimp marinate for maybe 30 minutes before cooking it, and it picked up amazing flavor. It’s mildly sweet and salty, with just a tiny kick from the Sriracha and ginger. The pineapple juice gives it a citrus-y flavor that works beautifully with the ginger, and of course makes it pair perfectly with the grilled pineapple. I like this recipe because it doesn’t take a million years to prepare, and you can cook for a lot of people at once, since you’re doing it on the grill.  You can make rice and a big pitcher of lemonade/sangria to go with dinner while the shrimp is getting all delicious in the marinade, and let the grill heat up while you prepare the skewers.

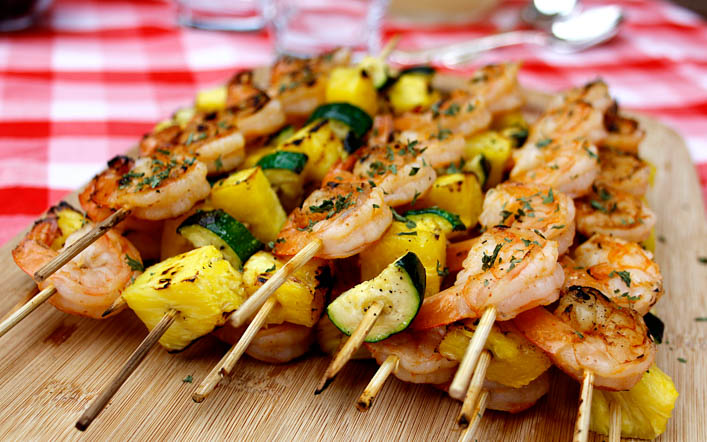
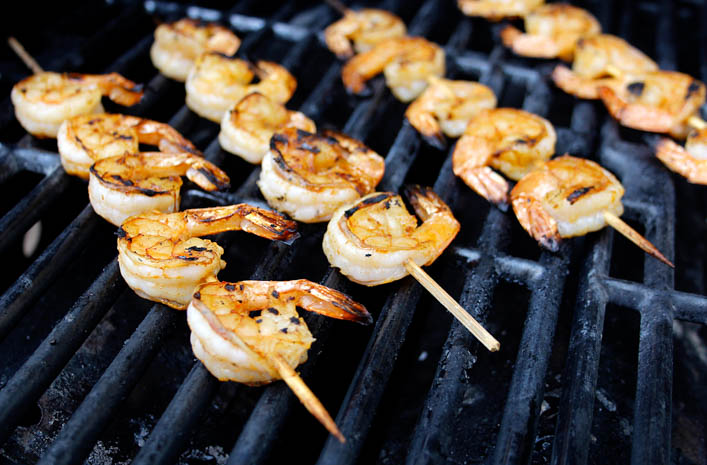
I discovered throughout the process of testing this recipe that skewers are a million times easier to cook if you only put one kind of food on them. Trying to cook skewers with shrimp, pineapple, and zucchini chunks – and making sure that everything cooked evenly and properly – was just annoying. Maybe there’s a secret I don’t know about the art of the kebob, but threading meat and produce on separate skewers just makes sense. You don’t have to worry about uncooked shrimp touching pineapple where it won’t get enough heat (my main concern), and you don’t have to cut your pineapple and zucchini to precise shrimp-sized pieces so they’ll cook evenly with the shrimp.

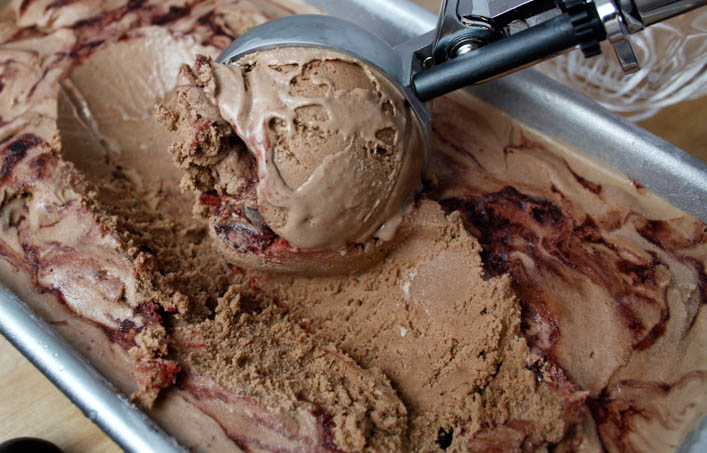
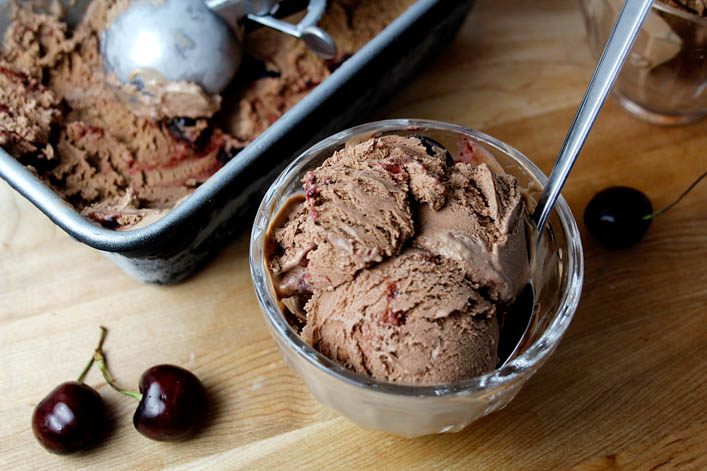
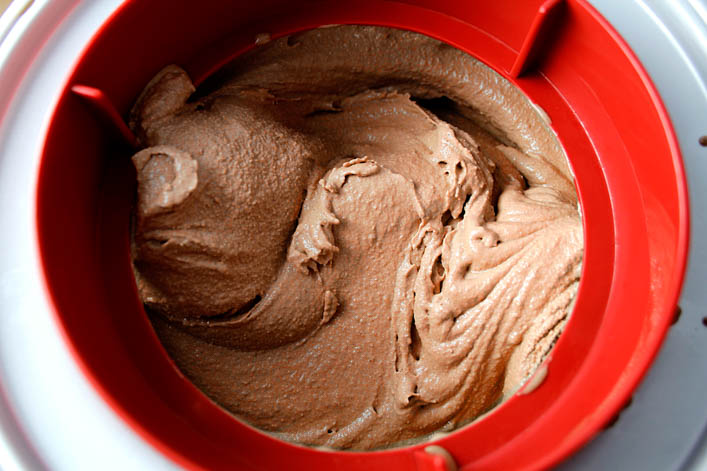
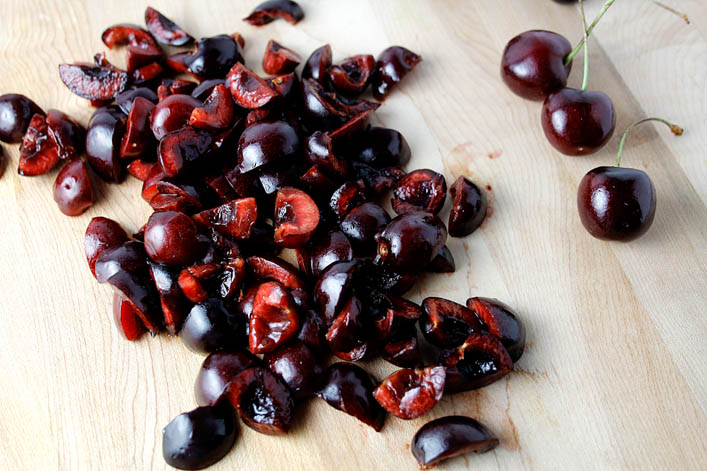
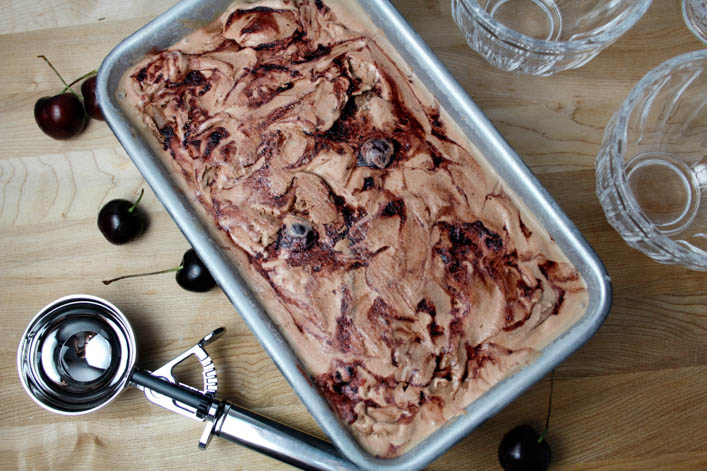
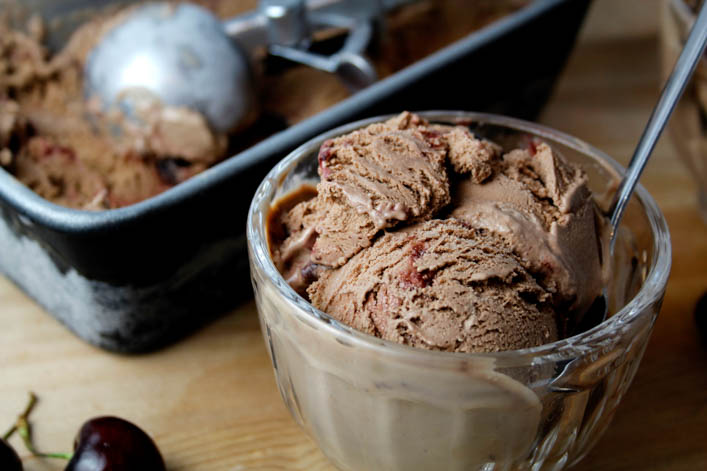
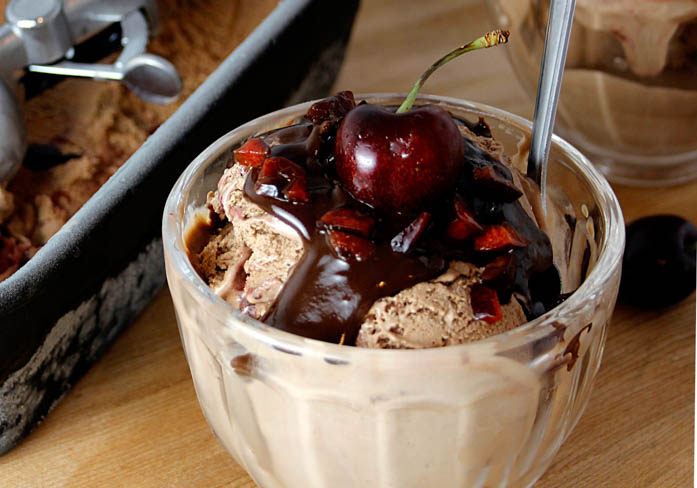
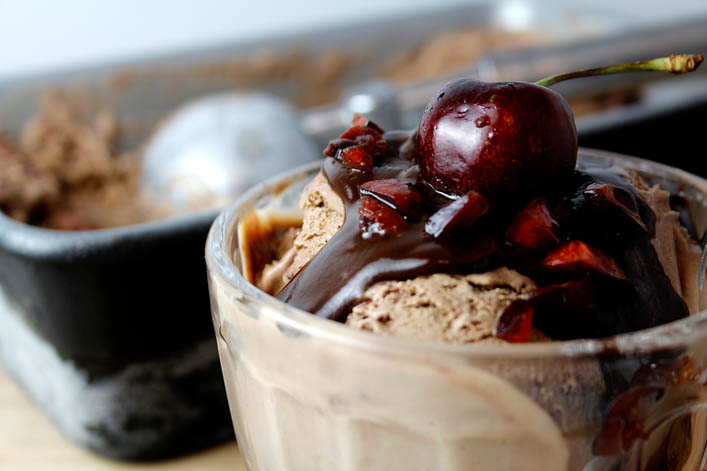
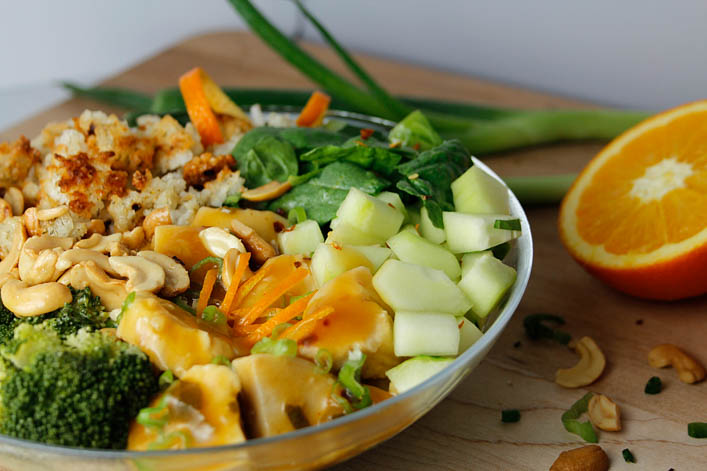
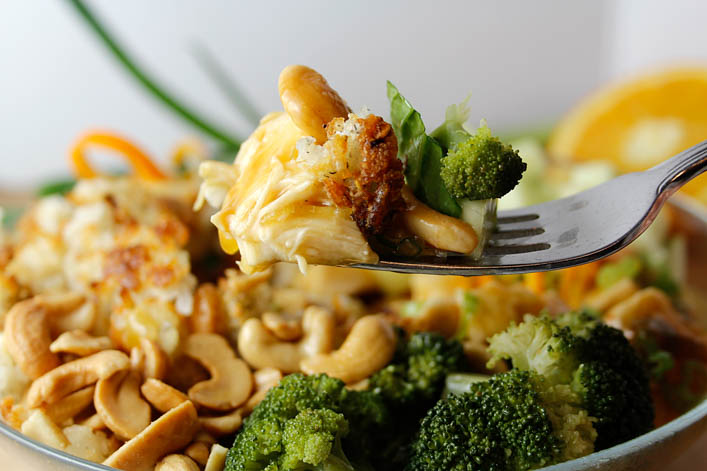
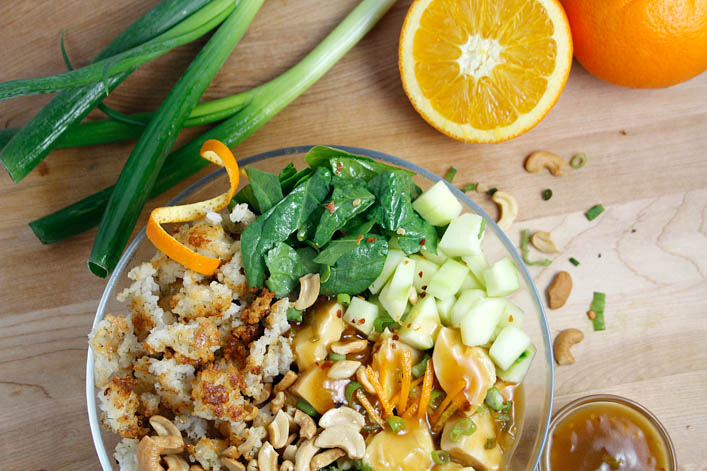
If you don’t like grilling or you don’t like shrimp, don’t worry – you can cook the shrimp on the stove with similar results, or you can use the marinade on chicken. I marinated some chicken in it, and then used the cooked chicken to make delicious bowls for dinner a few days ago, with rice, Sriracha yogurt, sauteed zucchini, and crushed pita chips. However you use it, this marinade will make your food taste like summer – especially if you have dinner outside on the patio, with a cold drink and your favorite people. And if you really want to take it over the top, you can always have Balsamic Cherry Chocolate Ice Cream for dessert. Just a suggestion.


Sriracha Shrimp Marinade

Servings 4 servings

Ingredients

Shrimp Skewers

  • 1 1/2 lbs raw shrimp, peeled and de-veined
  • 1/4 cup pineapple juice
  • 2 Tbsps sriracha
  • 2 Tbsps coconut milk (I used canned coconut milk)
  • 1/4 tsp salt
  • 1 tsp garlic powder
  • 1/4 tsp ground ginger

Pineapple and Zucchini Skewers

  • 1 medium zucchini
  • 2 cups pineapple chunks - about 1/2 a fresh pineapple
  • 1/2 Tbsp olive oil
  • 1/8 tsp salt
  • 1/8 tsp fresh black pepper

Instructions

  1. Note: Soak wooden skewers in water for at least 30 minutes before use.

    Combine all marinade ingredients in a shallow bowl. Place shrimp in the marinade and stir until all of it it well coated. Cover and let rest in the refrigerator for 30 minutes to 1 hour. 

    2. Slice pineapple and zucchini into bite-sized chunks. Season the zucchini with olive oil, salt and pepper. Thread onto skewers, leaving a little space between each piece. 

    3. Pre-heat the grill. Thread shrimp onto skewers (keep separate from those with the pineapple and zucchini).

    4. Cook skewers over medium-high heat on grill until shrimp curl and turn pink/lose transparency. Pineapple and zucchini should cook until tender - about 4-6 minutes on direct heat, and then move to indirect heat to continue getting soft. Sprinkle the cooked shrimp with dried parsley, if you're feeling fancy. 


Balsamic Cherry Chocolate Ice Cream

Balsamic Cherry Chocolate Ice Cream

I’m very big on doing seasonal activities because I think those are the times that I stop and really appreciate the present moment. Making and eating ice cream both seem like perfect ways to relax and spend a little time really enjoying summer before the insanity of fall/holidays/back to school, etc. come rushing towards us. Not to mention it’s the perfect way to impress guests at summer parties. I can’t think of anything more wonderfully extra than scooping up some homemade ice cream at a barbecue or pool party.

Ice Cream Dishes from Crate and Barrel

Ice cream is one of those things that seems difficult to make, but I think that’s just because it requires several hours and special equipment to do it right. Most people (myself included, until just recently) are perfectly happy buying their ice cream in tubs from the store – making your own in this day and age can feel something akin to churning your own butter! But what are you to do when you think of an amazing ice cream concept that you can’t buy? Well, first you get an ice cream maker. I got this one and it works absolutely beautifully. It’s a little on the pricey side, but it’s easy to use, easy to clean, and does a great job. It’s an especially good investment if you want to make unique flavors or you’re looking to create healthier treats by controlling the sugar you’re putting in.

A while ago, I bought some cherry balsamic vinegar from Secolari, a specialty shop in Columbia, Md. And when I got home, I put some of it on chocolate ice cream because the man at the store told me to. I don’t always do what people at stores recommend, but this guy seemed to know his stuff. Suffice it to say, my life was changed forever. I go through phases where the only dessert I want to eat is ice cream, but the usual flavors can get pretty boring. Cherry balsamic vinegar on ice cream re-energizes it in a whole new way. It adds a warmth and slight savoriness to the flavor that is anything but dull. I decided it was time to take those flavors and create a brand new, swirled Balsamic Cherry Chocolate Ice Cream, and I am so glad I did.

For the base of my ice cream I started with Alton Brown’s Chocolate Ice Cream Recipe, from Good Eats. By itself it’s near perfect, although I did add the tiniest pinch of salt to help the chocolate-y flavor really stand out. Then, I cooked fresh cherries with a little sugar and a good helping of the cherry balsamic vinegar to create the sauce I wanted to swirl into the ice cream. I’m not going to lie to you – this ice cream is basically irresistible. It’s like a perfect chocolate covered cherry translated into something even more decadent. It’s not so heavy on the balsamic that kids won’t like it – although the second time you make it you could definitely add more to amplify the flavor contrast.

The balance of ice cream to cherry balsamic swirl is just right, so you’re not overwhelmed by the cherry parts, but you’re not digging through your container searching for them either. The small cherry pieces in the sauce get kind of chewy when frozen, giving every bite a really wonderful texture. Of course I couldn’t just leave well enough alone and enjoy this ice cream, so I added hot fudge on top. But not just any hot fudge – salted chocolate hot fudge. If you like salty-sweet things, then this is essentially compulsory – the sweet ice cream with the tangy cherries and salty-sweet sauce is nothing short of magic. I made my sauce from scratch, adapting this New York Times recipe. It’s very quick and easy to make, and tastes so much better than the stuff you get out of a jar. I actually hadn’t made my own hot fudge before this, but I don’t plan on going back.

Creating this recipe has cause me to fall down an ice cream rabbit hole. Realizing that I can, in just a few hours, make exist any flavor of ice cream that I can dream up, is weirdly surreal. I guess I always knew that was possible, but making a big batch of any ice cream you want at home seems too good to be true. What a wonderful thing to discover mid-July.  Thank goodness that DC summer is incredibly humid and very hot, so it’s important to eat ice cream almost every day in the name of keeping your sanity. That’s the real reason I’m sharing this recipe and encouraging you to go buy that ice cream maker. I want to help save your sanity. I’m just trying to make the world a better place.

I suddenly have new-found respect for ice cream parlors.


Balsamic Cherry Chocolate Ice Cream

Chocolate ice cream recipe very slightly adapted from Alton Brown's Chocolate Ice Cream Recipe.

Salted hot fudge recipe slightly adapted from Doris's Salty Hot Fudge Recipe, by Kim Severson in the New York Times.

Ingredients

Chocolate Ice Cream

  • 3 cups half-and-half
  • 1/2 cup cocoa
  • 1 cup heavy cream
  • 8 large egg yolks
  • 1 1/4 cup sugar 250g
  • 2 tsps vanilla exract
  • 1 tiny pinch salt

Balsamic Cherry Swirl

  • 8oz fresh cherries
  • 2 Tbsps sugar
  • 2 Tbsps water
  • 3 Tbsps cherry balsamic vinegar

Salted Chocolate Hot Fudge

  • 1/4 cup salted butter
  • 1/4 cup cocoa
  • 1 oz unsweetened chocolate
  • 1/2 cup heavy cream
  • 1/3 cup sugar
  • 1 tsp vanilla extract
  • 1/8 tsp salt

Instructions

Balsamic Cherry Chocolate Ice Cream

  1. Note: This recipe does require an ice cream maker - Makes 1 1/2 Quarts


    Whisk together cocoa and 1 cup of half-and-half in a sauce pan over medium heat, until combined. Stir in the rest of the hal- and-half and the heavy cream. Bring to a simmer. 

    2. Whisk egg yolks until they're slightly lighter in color, and then gradually stir in the sugar. When the cream mixture begins to simmer, remove from heat and temper the eggs and sugar by adding it to them a little at a time until 1/3 has been added. Pour everything in the bowl back into the sauce pan, and stir until well combined. Return the pan to the stove over low heat. Stir frequently until the mixture thickens and reaches 175 degrees F. It should be thick enough to coat the back of a spoon. 

    3. Pour the mixture into a large, shallow dish, and allow to sit out at room temperature for 30 minutes. Stir in the vanilla extract, and transfer the dish to the refrigerator or freezer, covered loosely with paper towel until it reaches 50 degrees F or below - this usually take around 2 hours. You can leave it overnight, but once it cools to 50 degrees, cover the dish tightly. 

    4. While the ice cream mix is chilling, make the balsamic cherry sauce. Pit and quarter the cherries, and add to a sauce pan with the sugar. Let cook for 8-10 minutes over low heat, stirring occasionally until the cherries soften and release a lot of juice. Add the water and balsamic vinegar and cook for an additional five minutes. The mixture will thicken some as it cooks, but should remain fairly thin. Pour into a bowl and chill in the fridge until you are ready to use it. This sauce can be stored in an airtight container for about a week, so you can prepare it ahead of time. 

    5. Churn the ice cream. Pour the 50-degree mixture into an ice cream maker, and process according to the directions for your machine. Add your tiny pinch of salt just before turning on the ice cream maker. While churning, place a 9-inch loaf pan in the freezer. 

    6. After about 25-30 minutes, the ice cream should look like soft serve. At this point, turn off the machine and remove the loaf plan from the freezer. Scoop about 1/5 of the ice cream into the pan, and spread it into an even layer. Top with 1/5 of the balsamic cherry sauce, and continue working in layers like this until you're out of ice cream and sauce. Cover the pan with foil and freeze for at least 2-3 hours to let it solidify. 


Salted Chocolate Hot Fudge

  1. Melt together the butter, and unsweetened chocolate in a sauce pan over medium heat. Add cocoa, sugar, and heavy cream, and stir until the sauce is completely smooth. Remove from heat, and stir in salt and vanilla. Pour over your favorite ice cream. 

    This sauce will keep for at least a week in an airtight container in the refrigerator. 


Orange Chicken Crispy Rice Salad

Orange Chicken Crispy Rice Salad

There are two important things to understand about this recipe for Orange Chicken Crispy Rice Salad. The first is that it’s hilariously American, as is the case with all of my recipes that approach cuisines from other countries. The second is that it’s absolutely delicious regardless of authenticity. The inspiration for this concept came from my first experience with a crispy rice salad at Doi Moi in D.C. Their food is Southeast Asian, and so delicious – I definitely recommend a trip if you’re near 14th street. Their crispy rice salad involves fermented pork, which I have never worked with before, so I decided to combine the concept with something a little more familiar: orange chicken.

I have wild dreams of someday being one of those people who just throws all kinds of interesting ingredients into a dish without a second thought. I love trying new foods and flavors, and I make a conscious effort to order outside of my comfort zone at restaurants, but sometimes you just have to stick with some of what you know when you’re trying a new recipe concept. The point of that being that the sauce for my orange chicken started with a Panda Express copycat recipe, and I haven’t really done that much to it. I’m okay with that, however, as Panda Express orange chicken is a delicious gift from the heavens.

The crispy rice is, of course, the real standout of this salad, and the whole reason for its existence. I didn’t even know that crispy rice was a thing until a few months ago, but the version I made up for this recipe is one of my new favorite things. I started with a recipe from Ayesha Curry, which set me on the right path flavor- and texture-wise. I flavored mine with Greek yogurt, lemon, dill, salt, pepper, and red pepper flakes. Her recipe calls for crisping the rice in a pan on the stove, but mostly I just kept burning things that way. I found it much easier to get the results I wanted by toasting the rice on a tray in the oven. The result is crisp, slightly chewy, very flavorful rice that clumps together into bites like croutons in the salad.

This salad could easily have gone in the direction of very-bad-for-you, but with summer coming, I figured I’d keep it light. I used grilled chicken instead of fried, loaded the base of the salad with spinach, broccoli and cucumber, and topped it with some cashews for added crunch and nutrition. I think a variety of textures is what separates a great salad from the merely decent – they can get a bit boring if every bite is the same. This salad has a combination of crunchy and chewy and soft components that combine with the bright flavor of the orange chicken and the lightly spicy crispy rice, to make a pretty perfect meal.

This salad is a perfect start to break away from a typical boring lunch time. You can only eat Caesar salad so many times in a row before you want to stab yourself with your fork. Not that there’s anything wrong with Caesar salad. Crispy Rice Orange Chicken Salad is, as always, open to interpretation. I invite you to try it with lemon chicken or switch out the cashews for pecans. Maybe add roasted Brussels sprouts in place of the broccoli. Just promise me that whatever you do, you’ll keep the crispy rice – it’s truly something different and wonderful, and I can’t wait to make it again.


Orange Chicken Crispy Rice Salad

Orange Chicken Sauce adapted from Food.com's Panda Express Copycat Orange Chicken 


Ingredients

Crispy Rice

  • 3 cups cooked rice (1 cup uncooked)
  • 1/4 cup plain Greek yogurt 61g
  • 2 Tbsps lemon juice
  • 1 1/4 tsps red pepper flakes
  • 1 1/4 tsps dried dill
  • 1/2 tsp pepper
  • 1 tsp salt

Orange Chicken

  • 1 lb chicken breast
  • 2 Tbsps olive oil - divided use
  • 1 cup orange juice (fresh squeezed or bottled)
  • 3 Tbsps soy sauce
  • 1/3 cup brown sugar
  • 2 Tbsps rice wine vinegar
  • 1 Tbsp ground ginger
  • 1/2 cup green onion, chopped
  • 2 tsps garlic, minced
  • 1 tsp red chili flakes
  • 1/2 cup water
  • 2 Tbsps cornstarch

Salad

  • 2 cups baby spinach
  • 1 cup diced cucumber, de-seeded
  • 1 cup steamed broccoli florets
  • 1/2 cup dry roasted cashews

Instructions

  1. Prepare the crispy rice. Stir together the cooked rice, yogurt, lemon juice, red pepper flakes, dill, pepper, and salt until well mixed. Spread into one even layer on a baking tray lined with foil. Bake at 400 degrees for 20 minutes, stir the rice around on the tray, and bake for another 30 minutes. It's done when the top of the rice has browned and the clumps are crispy on the edges and soft inside. Once the rice has cooled slightly, transfer to a cutting board and chop larger clumps into bite-sized pieces. 

    2. While the rice bakes, make the orange chicken. Slice the chicken breast into bite-sized pieces and sautee in a skillet over high heat, with a Tbsp of olive oil. Remove to the side. To make the sauce, combine orange juice, soy sauce, brown sugar, and rice wine in a small bowl and set aside. Using the same skillet from the chicken, heat 1 Tbsp of olive oil. Stir together the green onion, ginger, garlic, 1 Tbsp of olive oil, and chili flakes and add to the hot skillet. Cook for about a minute until fragrant, and then add the orange juice mixture. 

    3. Let the sauce come to a simmer, over medium-heat, about 9 minutes. Do not let it come to a full boil. Stir together the corn starch and water, and add to the sauce. Stir gently for an additional 3 minutes, until the sauce begins to thicken. Lower heat and cook for 3 more minutes. Remove from heat and add the chicken, stirring until well-coated.

    4. To assemble the salad, fill a bowl with chopped spinach, diced cucumber, broccoli florets, and cashews. Top with a generous helping of orange chicken and crispy rice. Enjoy!

    Note: Leftover orange sauce can be refrigerated in an airtight container for up to a week.